It is highly recommended that you give WooCommerce serious consideration for installation if you intend to build an online store using WordPress. Because of its adaptability and the large range of customization possibilities, this plugin has quickly established itself as the standard e-commerce option for WordPress websites. Yet, due to the extensive number of functions it possesses, getting started can be somewhat challenging. The good news is that WooCommerce is quite simple to set up. Downloading, installing, and configuring the plugin to build a fully operational online store is simple for even the most inexperienced e-commerce beginners.
Beginning Your Experience with WooCommerce
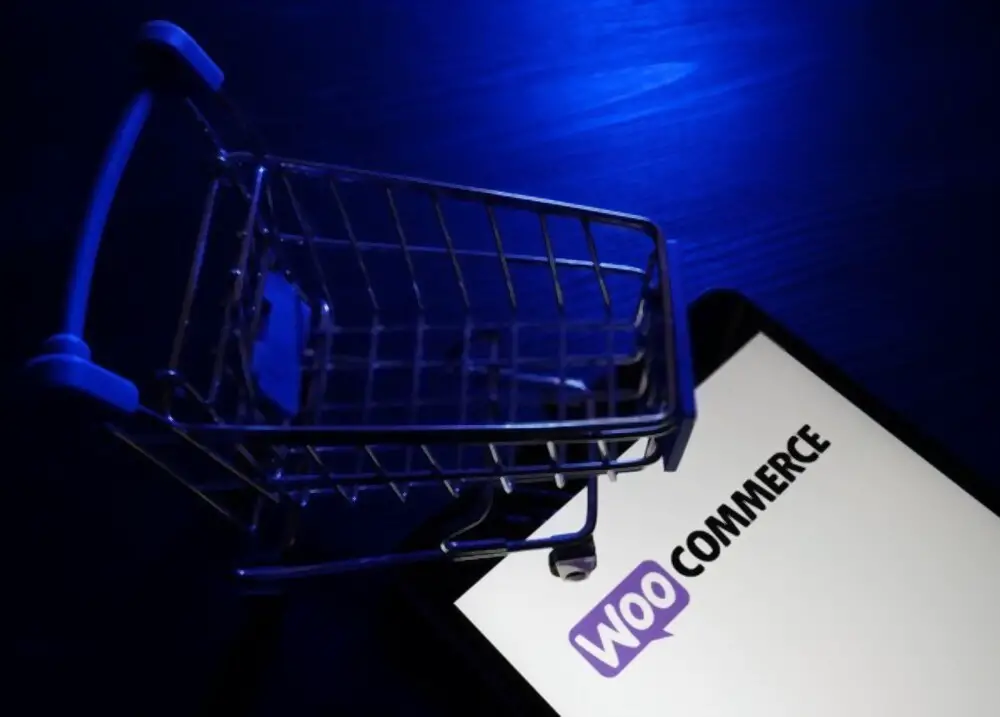
Built With claims that WooCommerce is the driving force behind 26% of all online stores. Because of this, it has become the most widely used solution for online commerce in the whole wide world, and it’s not hard to understand why. To set up a shop that is not only fully functional but also safe and pleasant to the eye, all you need is a website built with WordPress and the WooCommerce plugin.
In addition, WooCommerce provides a wide variety of chances for customization as well as scalability. The fundamental, free plugin will be enough for the vast majority of online stores. As your online store gains customers and revenue, WooCommerce will give you several opportunities to develop, broaden, and scale your operations. There are specific WooCommerce themes like Storefront that can assist you in perfecting the appearance of your store, in addition to extensions for WooCommerce that can add additional capabilities to your store.
When you take into consideration all of these factors, it is easy to understand why you should think about using WooCommerce when you are developing your online store using WordPress. Now that we have that out of the way let’s take a closer look at how the plugin operates in actual use.
Instructions on How to Install WooCommerce on Your WordPress Website:
The process of establishing and customizing your WooCommerce store is one that is rather easy to complete. But, before you get started, it is vital to make sure that your server meets the required requirements for WooCommerce, which are as follows:
- Any version of PHP higher than 7.4.
- Version 5.6 or above of MySQL and version 10.1 or higher of MariaDB are also required.
- A memory limit in WordPress of at least 256 megabytes and support for HTTPS.
If your website does not satisfy these minimum recommended requirements, your store will have difficulty functioning, and it is possible that it will not function at all. Using a WooCommerce hosting plan is one method that may be taken advantage of. This deal comes with WooCommerce already installed, in addition to a number of additional plugins and themes that may be used to improve the functionality of your online shop. In addition, you won’t need to worry about important details like speed and upgrades because those will be taken care of for you. When you are ready, it is time to set up your WooCommerce store after you have finished preparing your website and hosting plan.
Step 1: Put in place and afterward turn on the WooCommerce Plugin.
This initial step is the most fundamental one in the process. Installing and activating WooCommerce is as simple as installing and activating any other plugin in WordPress. As soon as you activate it, the WooCommerce setup process will be made available to you to complete the installation. To begin, let’s investigate the impact that activating WooCommerce had on your website.
After installing WooCommerce, you will find a variety of brand-new features, such as the following:
- Consumer and Store Manager are two new user roles that have been added.
- Widgets that will assist you in displaying products in a variety of different ways.
- Individually crafted menu items, post kinds, and taxonomies.
- A variety of shortcodes can be used to introduce content into pages and posts.
It is important to keep in mind that a WooCommerce installation running on a WordPress Multisite network will operate somewhat differently. Each location will have access to the same database but will keep its data in its own individual tables. Because of this configuration, each store functions as its own independent organization. You will not be able to share information across the stores, such as user accounts, products, or checkout information. This restriction applies to both online and physical stores. On the other hand, it is possible to share plugins and themes between numerous WooCommerce sites. It is not necessary for you to be concerned with any of that if you are only using a single WordPress site. Now is the time to begin setting up your store by making use of the wizard that we discussed in this section.
Step 2: Provide The Essential Details Of Your Company To Install WooCommerce on Your WordPress Website
Upon installing the WooCommerce plugin, the setup wizard will appear as the very first thing on your screen. You will only need to take a few easy actions to have your site up and running with the help of this. It is important to keep in mind that any options you select in this area can be readily altered at a later time.
On the initial page of the wizard, you will find fundamental information concerning your business. After that, you’ll be prompted to select the currency that you want to use. You could only use one currency at a time in your online store. However, you may make use of a plugin such as Currency Converter Widget in order to display pricing in a number of different currencies.
Step 3: Set Up Your Methods of Payment in Woocommerce
In the following section of the process, you will be given the opportunity to specify the various payment methods that your shop will accept. You have the ability to select the forms of payment you will accept in this section.
The options that are presented to you will vary somewhat depending on the location that you have indicated, as well as the selections that you made on the page before this one in WooCommerce. Both PayPal and Stripe are accessible at any time in WooCommerce. If you selected the option to sell things in person at your store, and if your store is located in the United States, the United Kingdom, Canada, Australia, or Japan, then you are eligible to use Square.
WooCommerce will install the appropriate extensions after you select the options that you wish to use and confirm your installation. You are free to modify the list of accepted payment methods at any time in the future. The last choice in this area asks if you are willing to take payments made in other ways besides online. If you choose this, a new panel will open up with more options, giving you the ability to select any and all forms of payment that you are willing to use in WooCommerce. After you have selected all of the different methods of payment that you will require, you can go on to the next page of the wizard by clicking the Next button.
Step 4: Make the Necessary Adjustments To Your Shipping Settings After Installing woo commerce on WordPress
It is now time for you to configure the settings for your shipping method. In the same way, as with the previous stage, the available choices will change based on where you are. Instead, just the options for defining the weight and size units you want to use in your store will be displayed for stores situated in other parts of the network.
Step 5: Install WooCommerce on Your WordPress Website procedure.
In the last phases of the wizard, you will be presented with several additional options that can assist you in getting your store up and running. There are two options available in the Accessories section. The first one will inquire as to whether or not you would like to install the Storefront theme. This is the official WooCommerce theme, and it comes highly recommended due to the fact that it was developed expressly to provide support for websites that are powered by WooCommerce. You also have the option to decide whether or not you want WooCommerce to automatically calculate tax rates for you. Depending on your location and the nature of your company, this alternative to manually entering tax rates can prove to be more beneficial.
Conclusion:
Now that your shop is operational, it is time to come up with something to put on the shelves. You have access to a wide variety of product categories, but for the sake of this demonstration, we will develop a “basic” product. This is the most typical and fundamental form of product, and it is designed to be utilized for the shipment of manageable goods that do not call for any additional customization possibilities.
Simply navigate to WooCommerce > Products > Add New to create a new product. This opens the Add new product screen, which, if you’re used to making blog posts in WordPress, should feel very similar to you. WordPress users who are interested in opening an online store have a fantastic alternative available to them in the form of WooCommerce. Because of its user-friendly design, WordPress websites may be converted into Ecommerce businesses by users of all skill levels, including newcomers.
Installing and activating the plugin on your WordPress website is the first step in getting started in Woocommerce. Next, add some information about your store and the products it sells. After that, you may begin the process of adding products to your shop. Are you interested in constructing a WooCommerce business that is both quick and safe? Your website will run more quickly, and you’ll have more opportunities to make sales online.